Using Physics
Introduction
The Editor allows to setup and edit physics impostors for meshes in the scene using the inspector. All physics engines are supported:
CannonJSOimoJSAmmoJS
By default, physics is enabled in the project and is using CannonJS.
Setting up physics
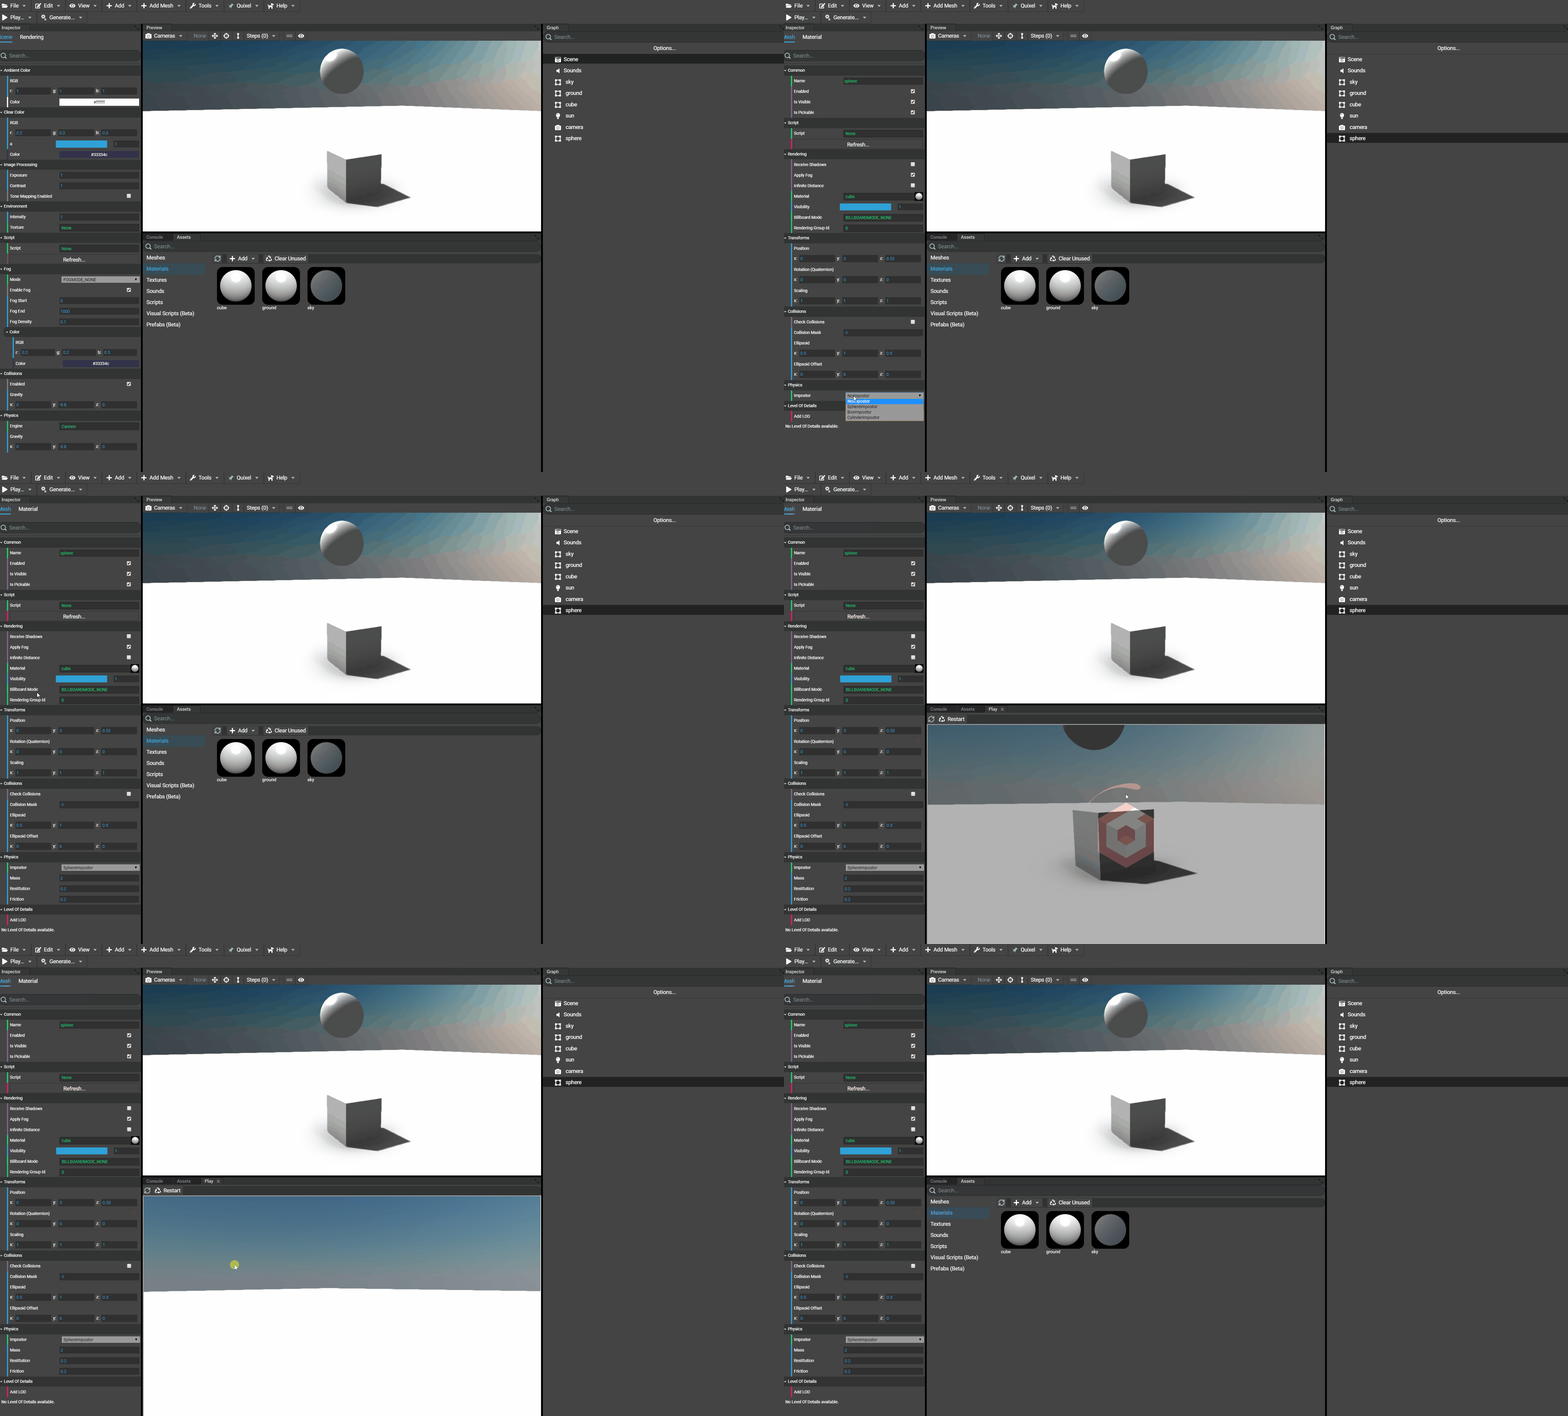
By selecting a mesh or mesh instance (basically any object extending AbstractMesh) in the scene, the inspector will be updated to show the object's properties. For meshes and meshes instances, some properties are focusing on physics located in the folder named Physics. By default, all unconfigured meshes have no impostor (NoImpostor).
At the moment, the available impostors are:
BoxImpostorSphereImpostorCylinderImpostor
By selecting a new impostor, the tool will be updated to show the common properties which are:
MassRestitutionFriction
A documentation for all these options is available here.
Once these properties are configured, the physics is not preview-able in the Editor. To preview the result, just run the project to see the physics effect and adjust the properties if needed by clicking on the button Play in the tools toolbar.
In the following example, the box and ground already have an impostor set to BoxImpostor where the box has a mass of 1 and the ground has a mass of 0 (to stay static).

Changing gravity
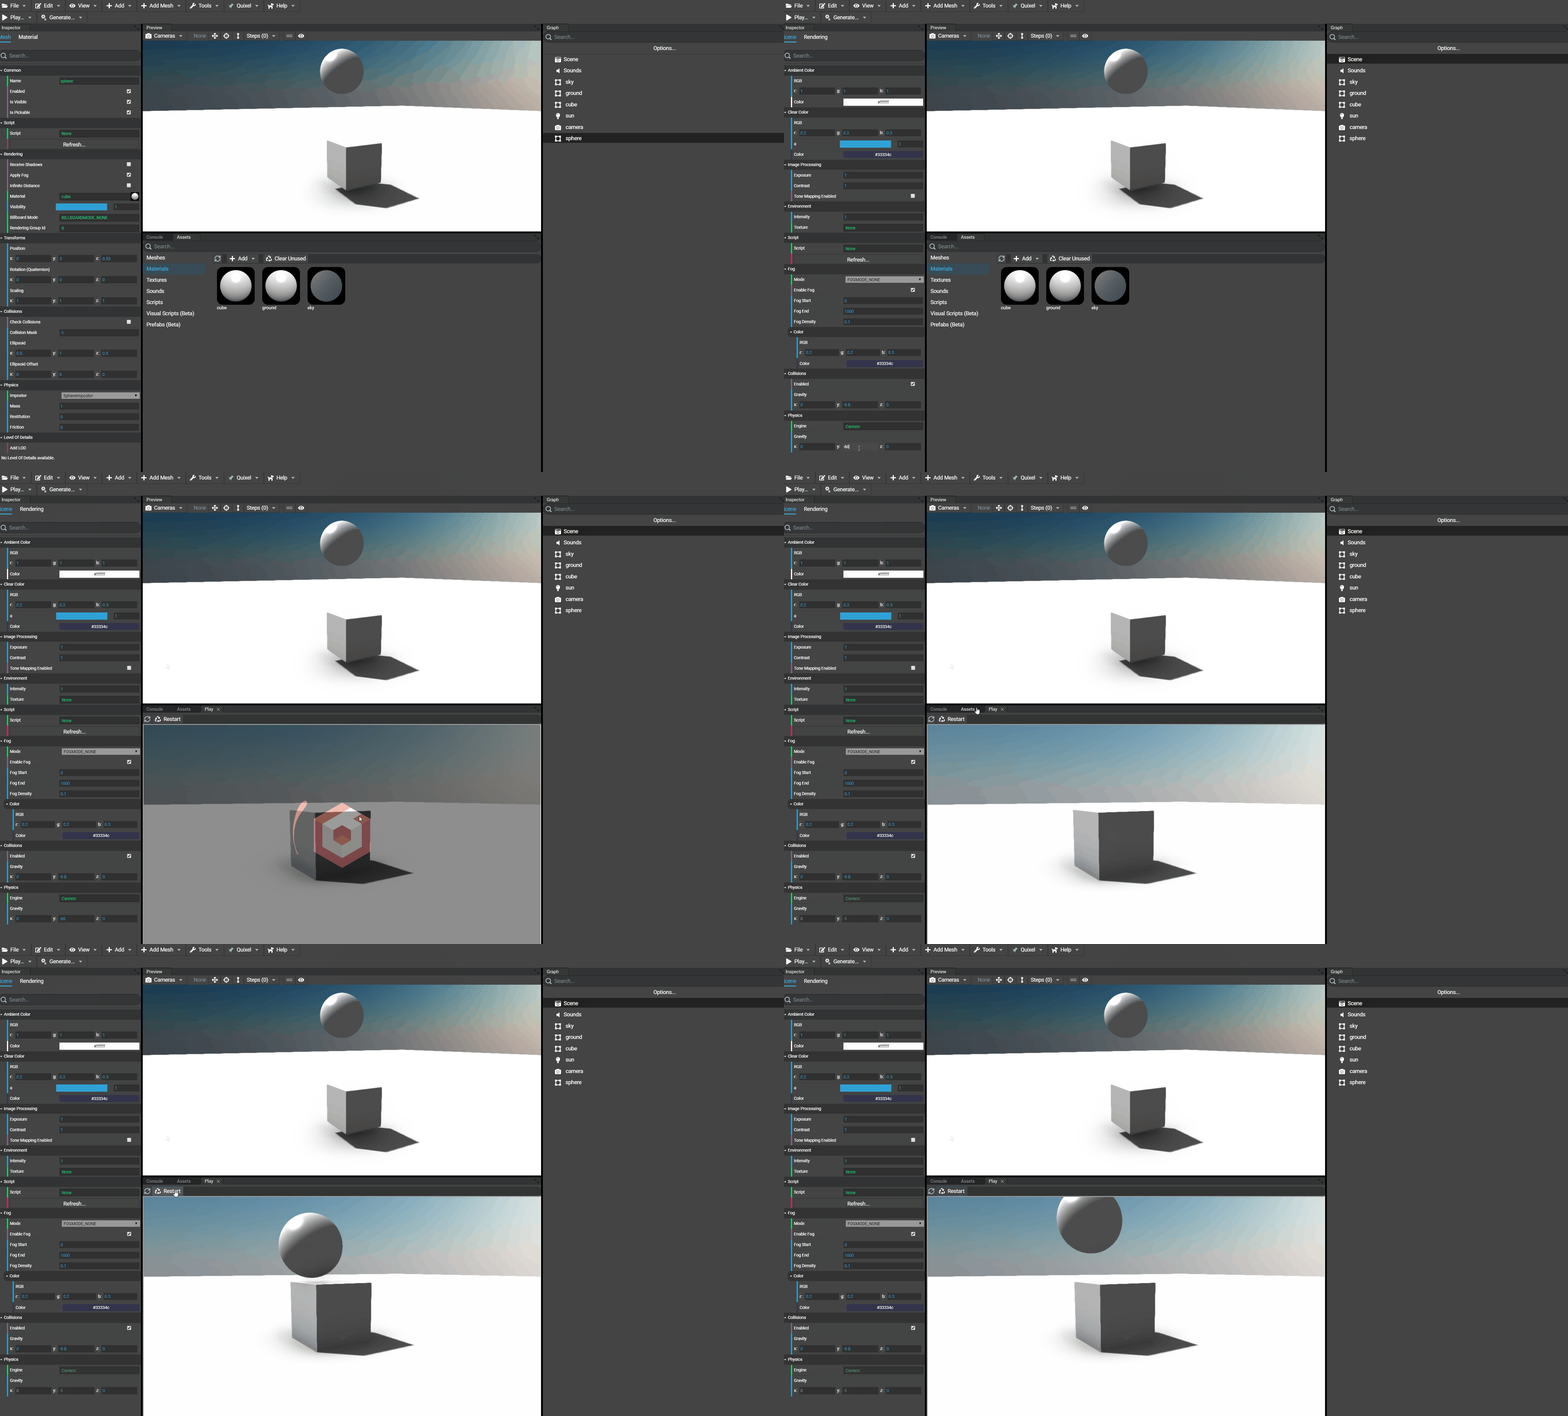
When selecting the scene in the scene graph, there are 2 editable gravity properties:
- Collisions gravity
- Physics gravity
According to the wanted effect, both gravity values can be distinct. In the Physics folder of the scene inspector the gravity applied by the physics engine can be customized:

Choosing physics engine
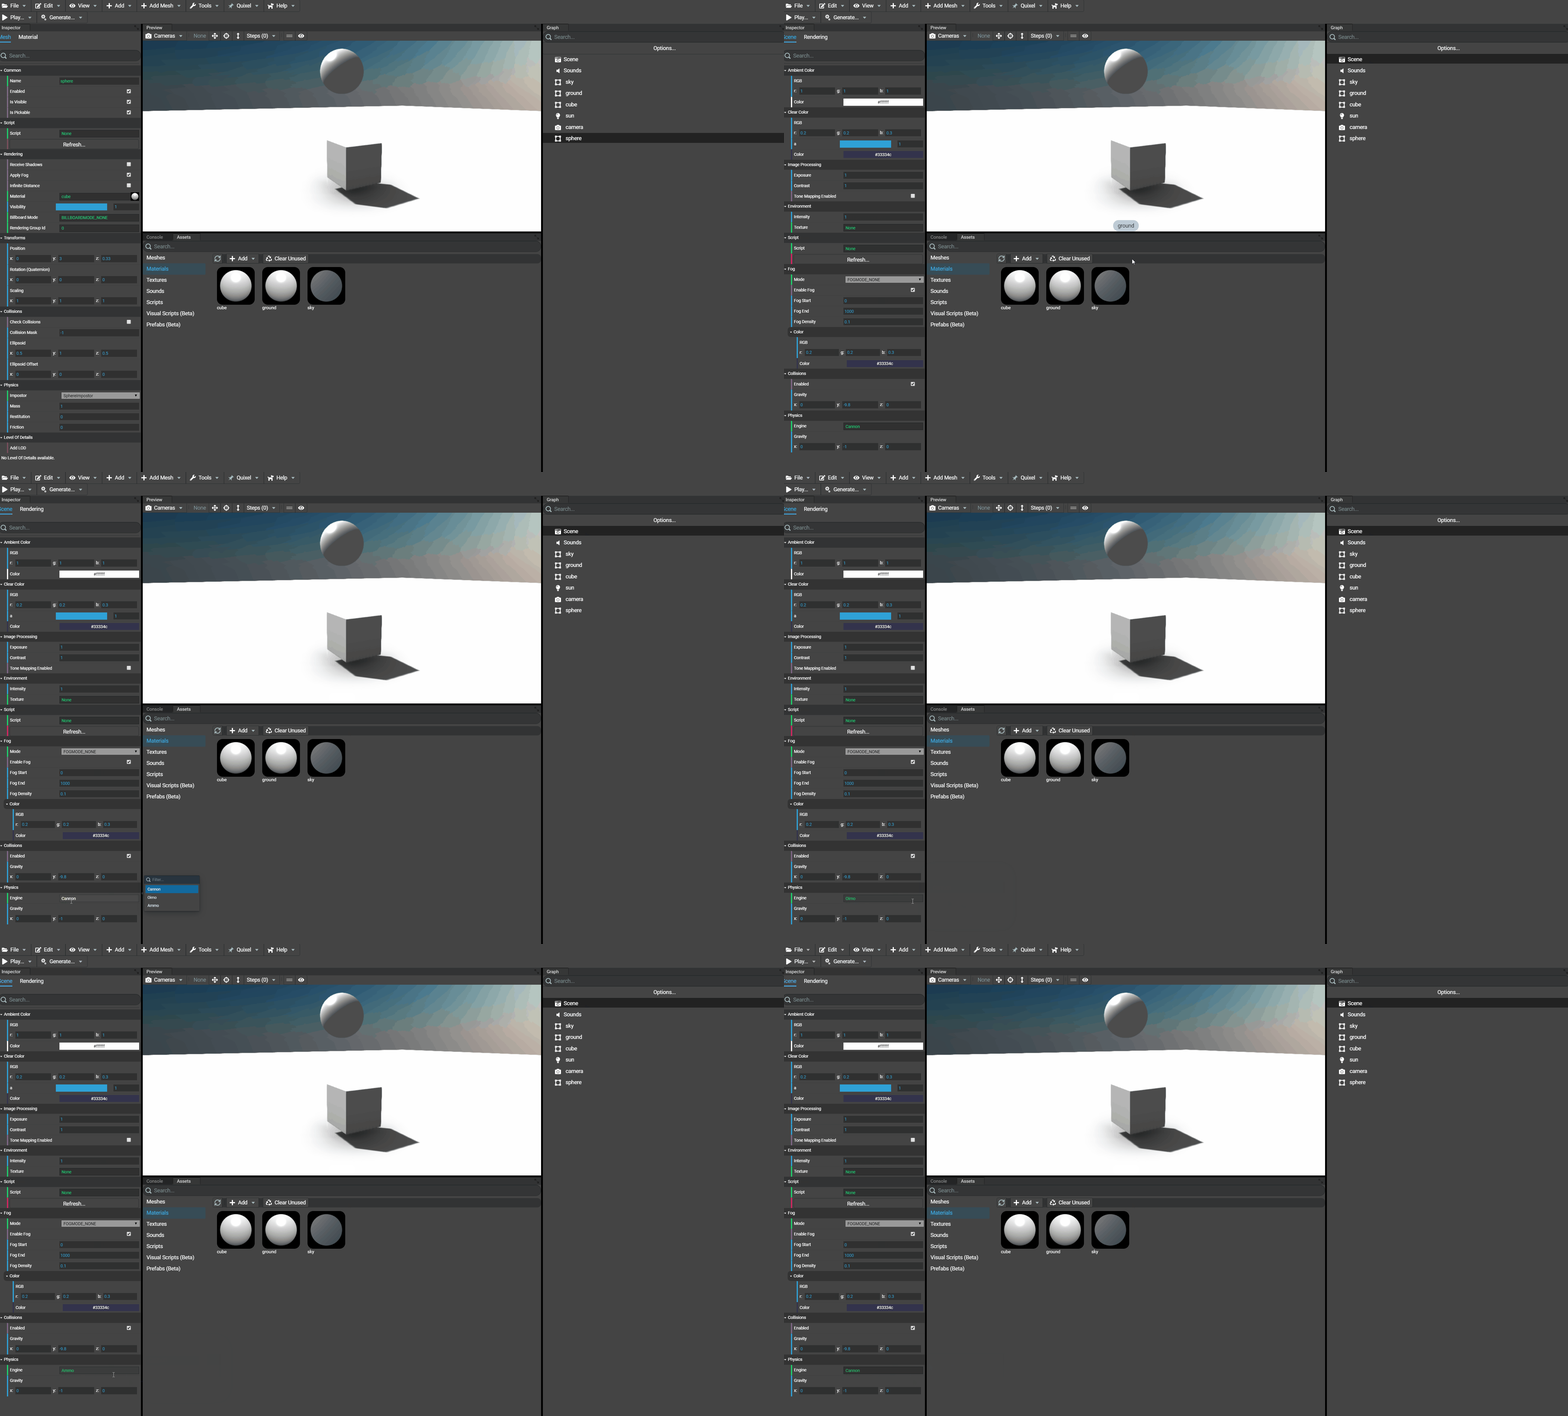
Using the inspector, the scene's properties allow to change the physics engine that should be used by the project. By default, CannonJS is used and can be replaced by OimoJS and AmmoJS. Changing the physics engine can be done without having to reset or redefine the impostors already existing.

Once desired physics engine is selected, the project must be updated as well. In fact, by default the project templates are using CannonJS where the library is imported in the index.html file. In case of using OimoJS for example, this import must be replaced by the one that imports OimoJS. The default template looks like:
<!DOCTYPE html><html xmlns="http://www.w3.org/1999/xhtml"><head><meta http-equiv="Content-Type" content="text/html; charset=utf-8" /><title>Babylon.js Generated Template</title><!-- Loads the game --><script src="./dist/bundle.js" type="text/javascript"></script><!-- Loads the physics engine "CannonJS" --><script src="./node_modules/cannon/build/cannon.js" type="text/javascript"></script>...</head><body>...</body></html>
In other words, for this example, the CannonJS import should be replaced to load the file Oimo.js from CDN or any other corresponding file in node_modules:
<script src="https://cdn.babylonjs.com/Oimo.js" type="text/javascript"></script>
Or using AmmoJS:
<script src="https://cdn.babylonjs.com/ammo.js" type="text/javascript"></script>
Which gives, for example with AmmoJS:
<!DOCTYPE html><html xmlns="http://www.w3.org/1999/xhtml"><head><meta http-equiv="Content-Type" content="text/html; charset=utf-8" /><title>Babylon.js Generated Template</title><!-- Loads the game --><script src="./dist/bundle.js" type="text/javascript"></script><!-- Loads the physics engine "AmmoJS" --><script src="https://cdn.babylonjs.com/ammo.js" type="text/javascript"></script>...</head><body>...</body></html>