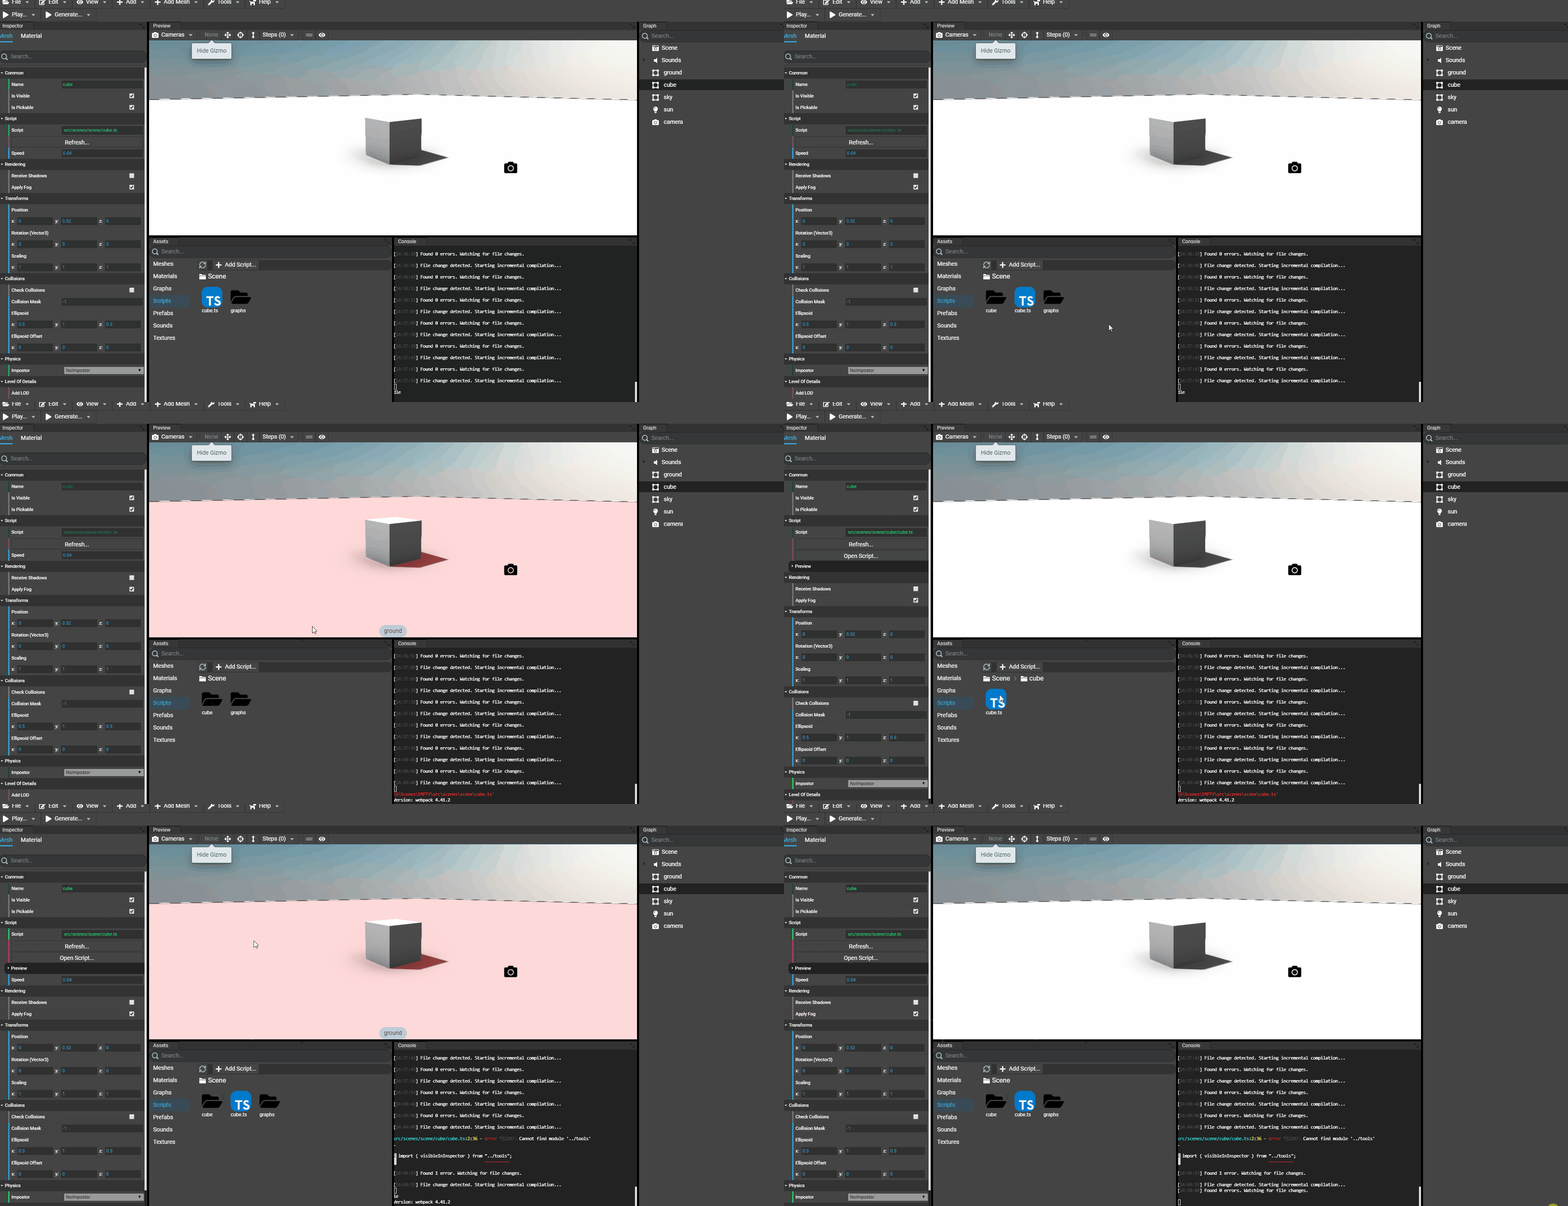
Attaching scripts
Introduction
The Editor allows to create and edit scenes without any line of code. Anyway, each object in scene can be customized by adding behaviors that developers can create using TypeScript. These behaviors can be attached to objects and will wake up when the game is running.
As examples, a behavior can be:
- I have a camera and I'd like to launch a ball when I click, according to the camera's direction
- I have an object and I want it to scale up when the mouse is over
- etc. etc.
The Editor provides a way to create, manage and attach these scripts to all available objects in the scene. To customize scripts, the scripts can export properties (numbers, strings, booleans, vectors, keys, etc.) and these properties will be editable directly in the Editor.
Scripts can be attached to:
- Mesh
- Mesh Instance
- Light
- Camera
- Transform Node
Note: all scripts are written using TypeScript
Note: the Editor is optimized to work with Visual Studio Code
Adding a new script
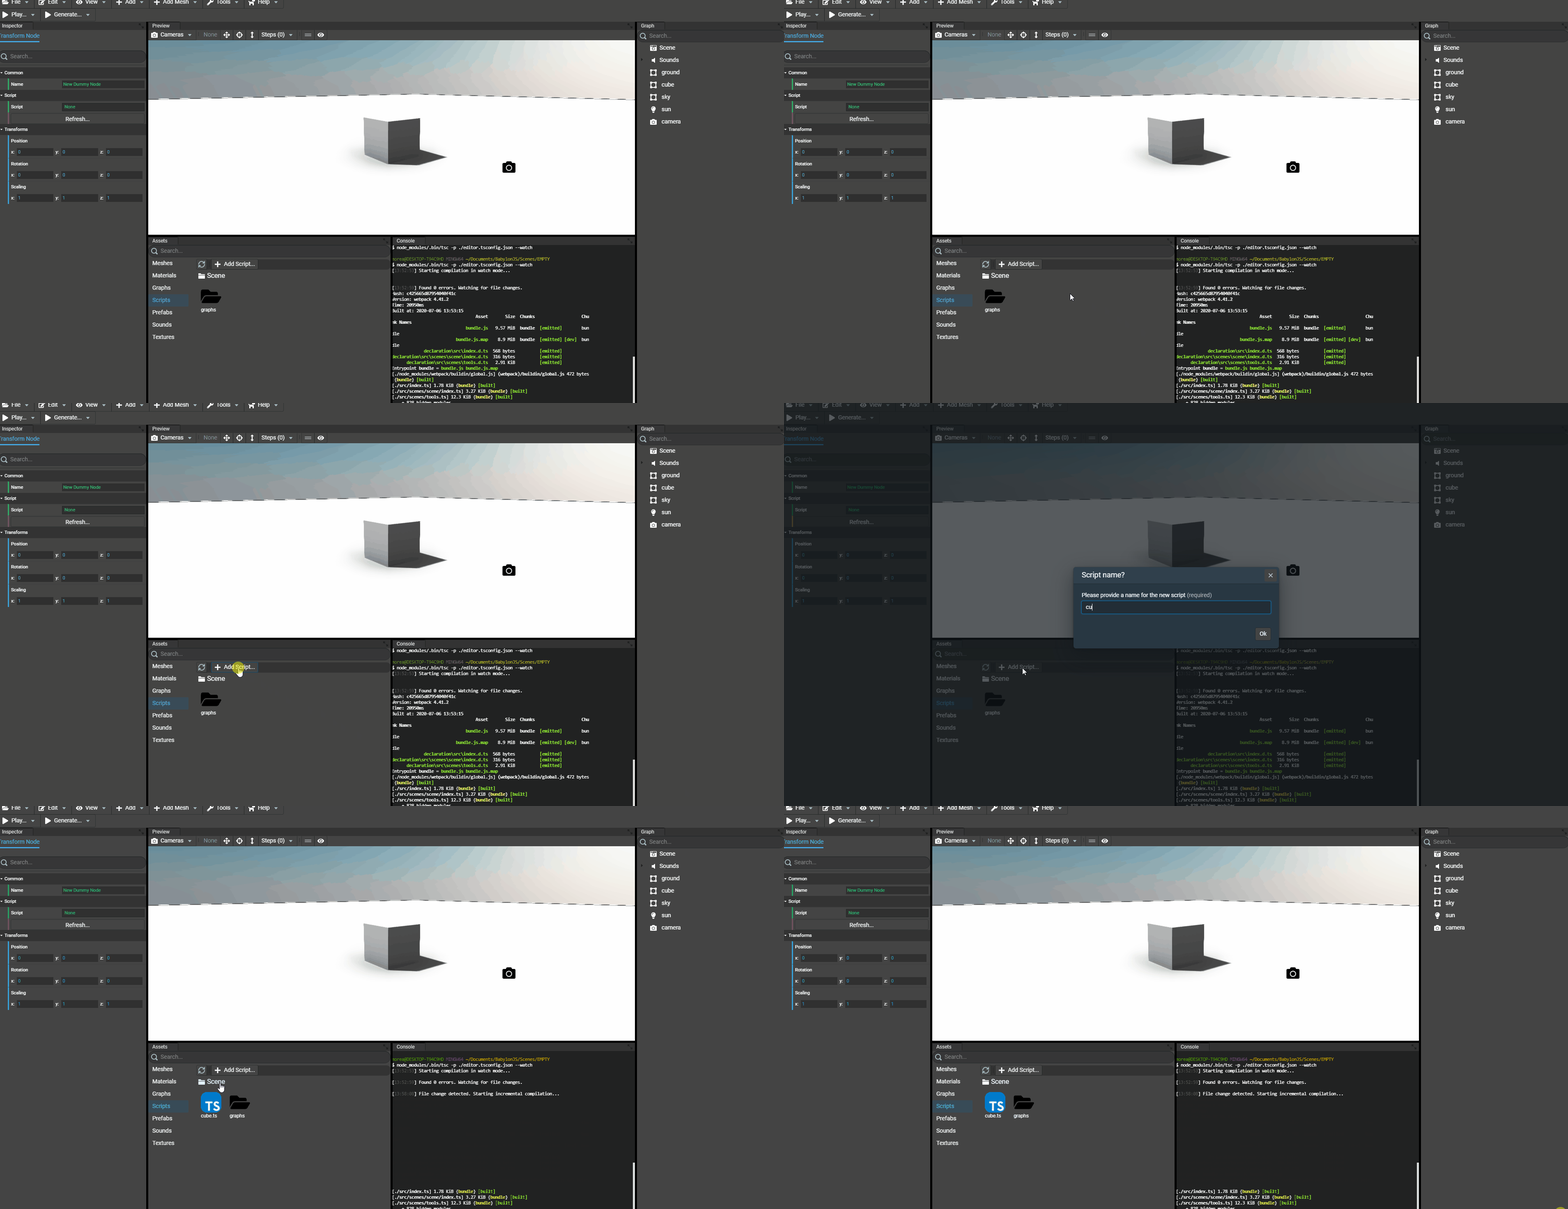
Once a workspace has been created, in the assets panel a tab named Scripts is available and shows all the available scripts in the project. By default, there is only a folder named graphs and it can be ignored for this tutorial.
In the asset's panel, just click Add Script... and give it a name. Once done, a script has been created from a template and is now ready to be attached.
Note: when no extension provided, the .ts extension is automatically added.
Attaching a script
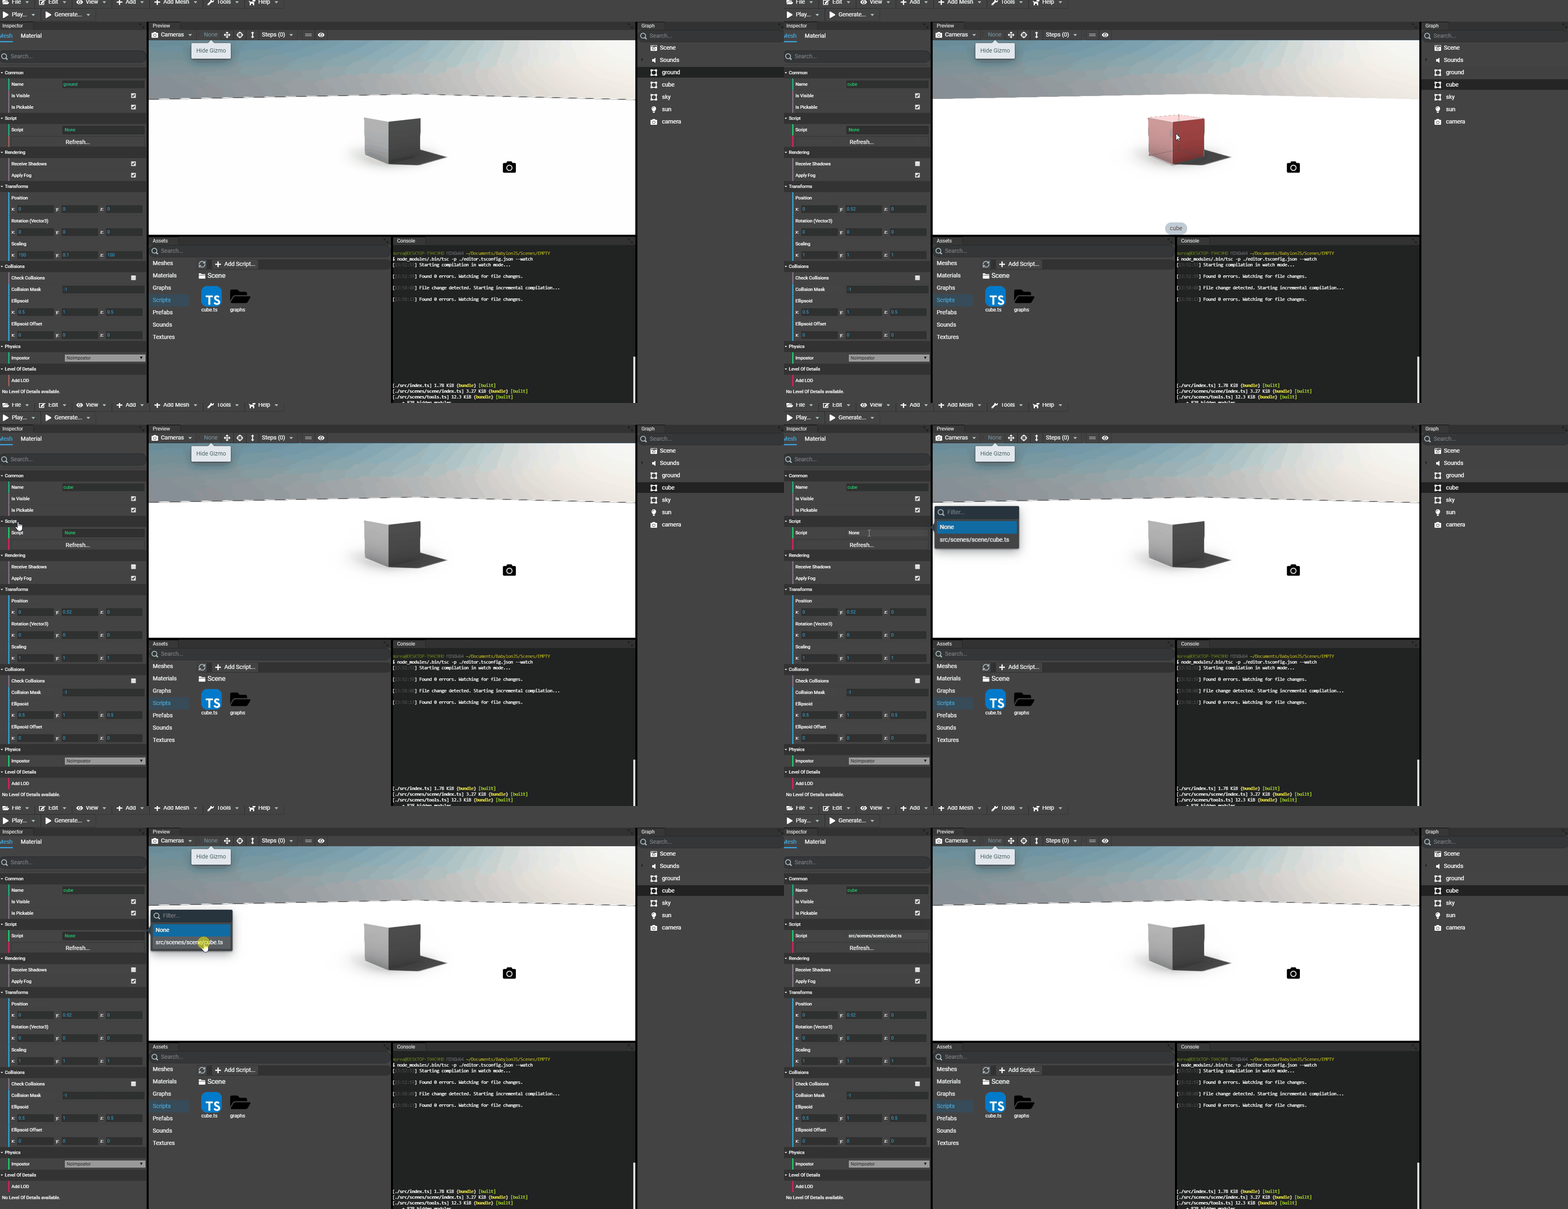
We named our script cube.ts and it'll be attached to the cube in our scene for this tutorial. To attach a script, just select the cube and go to the Script section in the Editor's inspector. We can now select the script to attach, let's select cube.ts:
Note: only one script can be attached to an object but one script can be attached to multiple objects in the scene.
Opening the project in VSCode and focus on the script
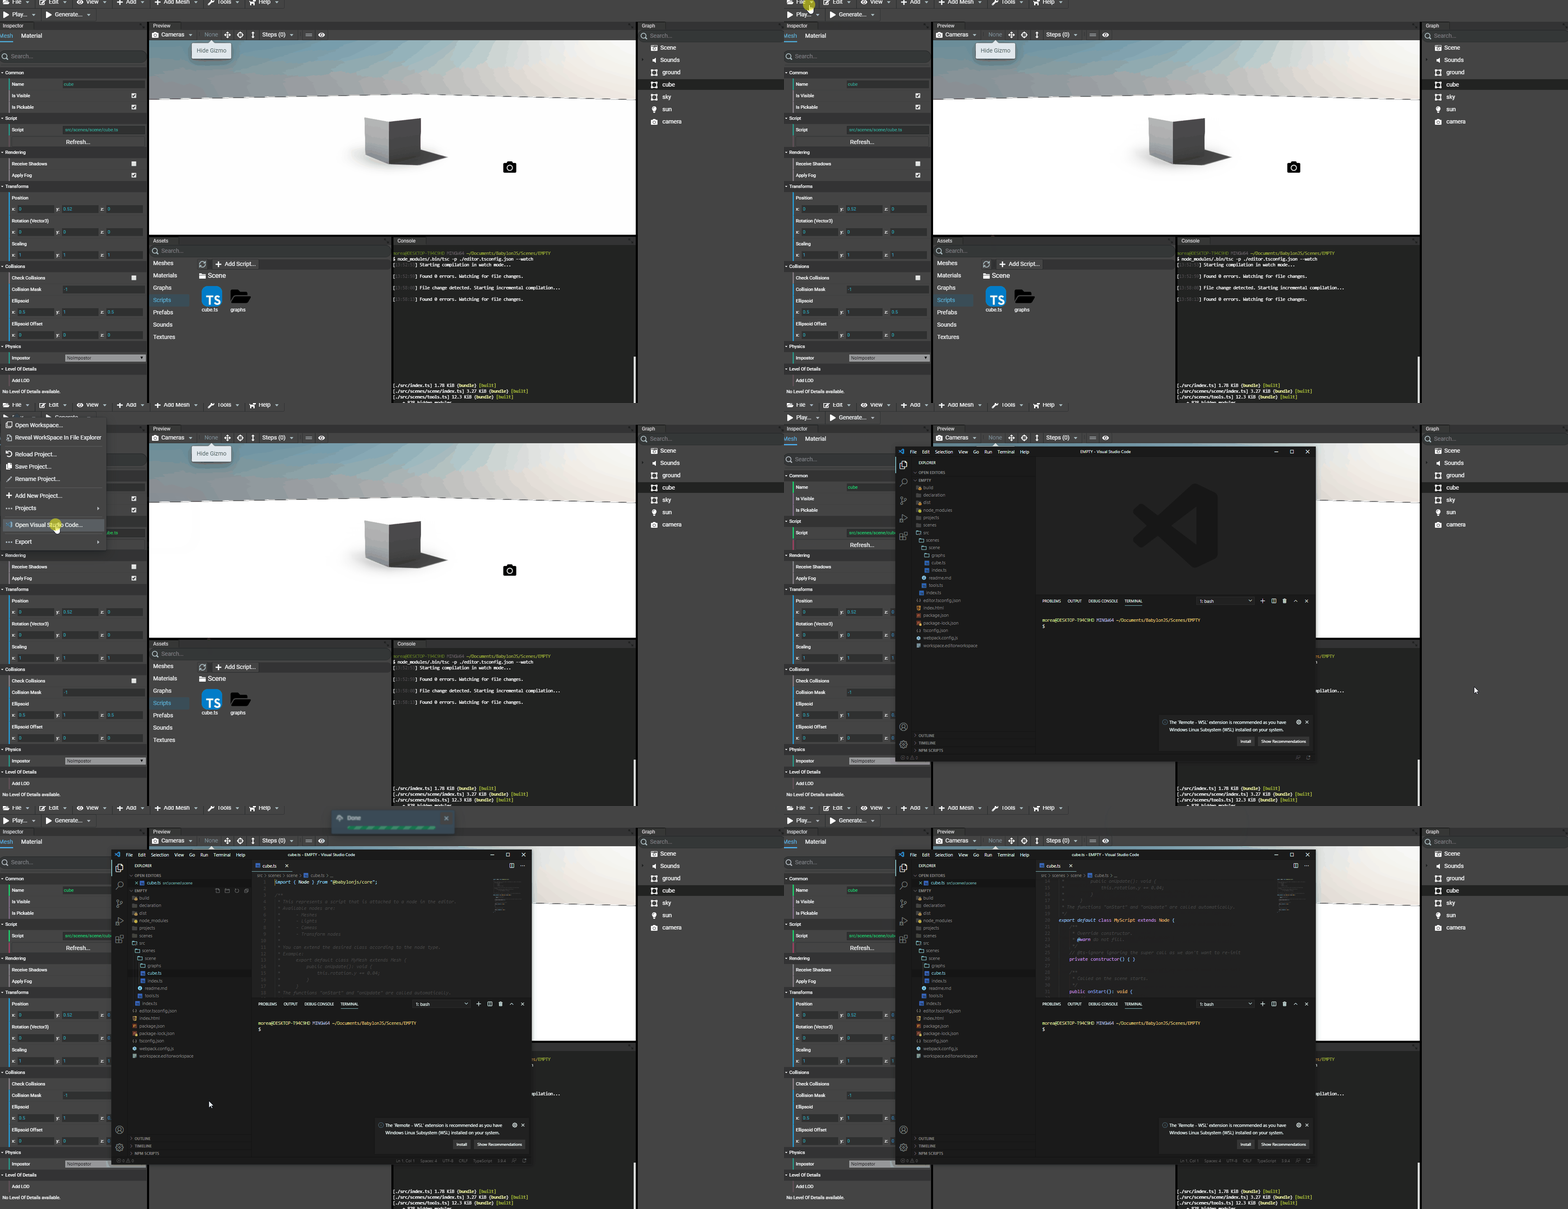
To help locating the project and scripts in our workspace, we can open Visual Studio Code directly from the Editor. Also, the Editor can open scripts directly.
- To open
Visual Studio Code, just selectFile -> Open Visual Studio Codein the toolbar. - To open a script, simply
double clickthe desired script in the asset's panel
Understanding scripts
Scripts are used to specialize an object. That means it'll be attached to an existing object in the scene (for example a mesh here). Each script will be notified:
- when it starts: means when all assets are loaded and game is ready. This is the function named
onStartin the script. - each frame: each time Babylon.JS renders a frame, the script is called immediately just before the frame is rendered? This is the function named
onUpdatein the script.
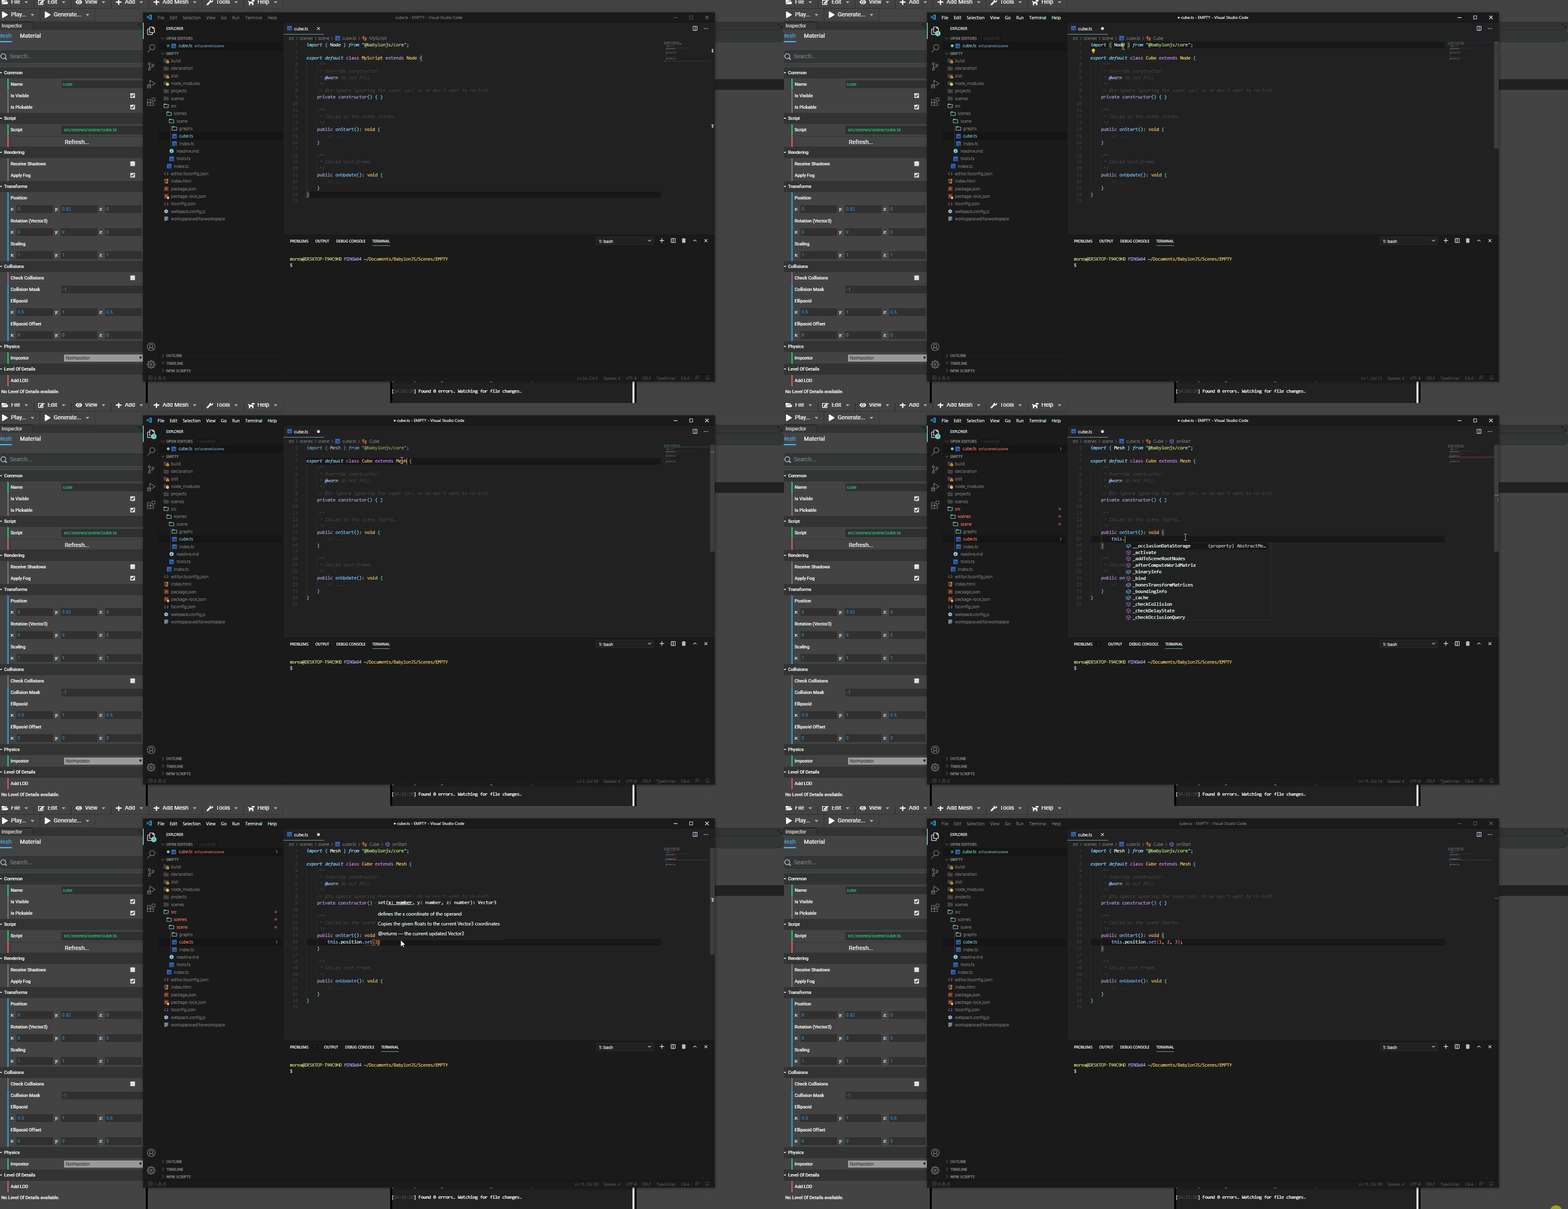
By default, a script is named MyScript and it can be renamed. Also, a script extends, by default, the class Node of Babylon.JS. Here, we attached the script to a cube, which is a mesh. Let's extend Mesh instead of Node so we'll have auto-completion for Mesh when typing this:
Customizing scripts in editor
Scripts can be customized directly in the editor by setting custom properties. Available property types are:
- number
- string
- boolean
- vector (2d, 3d and 4d)
- key map
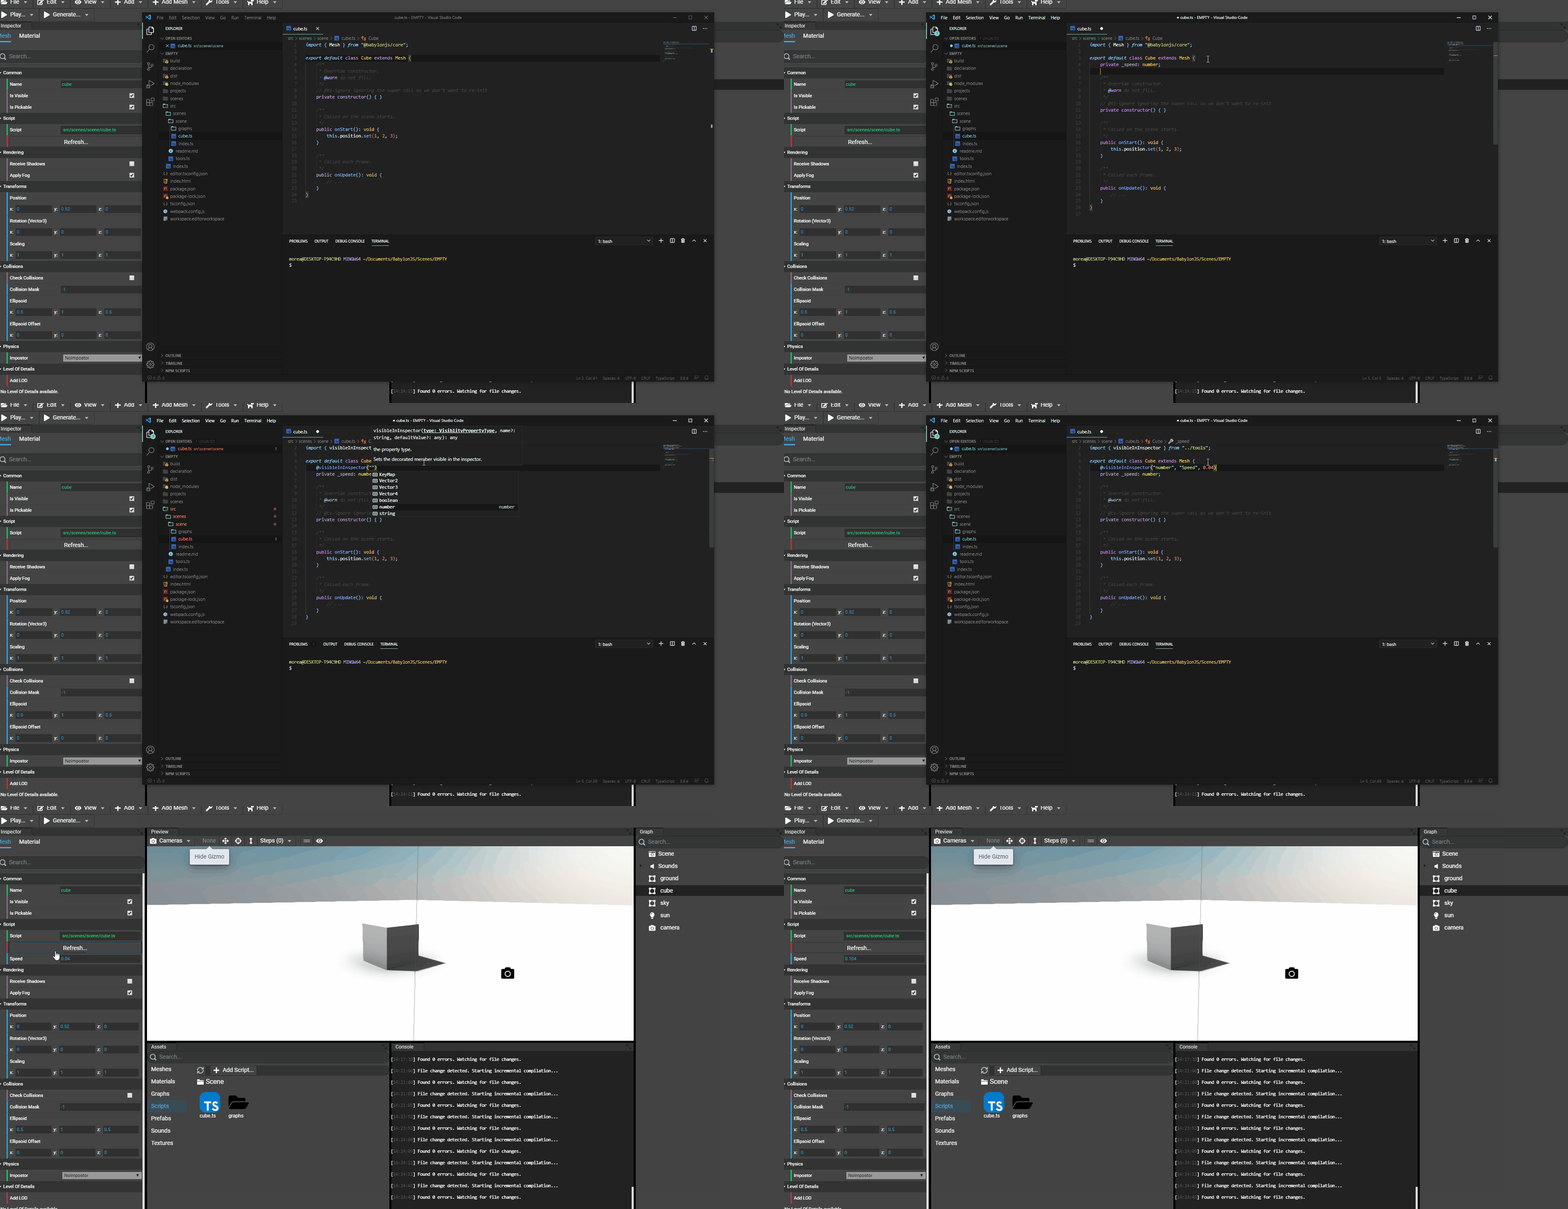
To set a property visible in the Editor, just decorate it @visibleInInspector in the script. More informations about decorators here: https://www.typescriptlang.org/docs/handbook/decorators.html#decorators
These decorators are availalbe in the file src/scenes/decorators.ts. Decorators in src/scenes/tools.ts are deprecated since v4.0.0-rc.2 and will be definitely removed in final v4.0.0 version.
The @visibleInInspector decorator has the given arguments:
- the property type (number, string, boolean, etc.)
- the name of the property to be shown in the Editor
- the default value of the property
On the property is decorated and the script saved, we can refresh the Script section in the Editor to see the effect. To refresh the section, just click the button Refresh... in the Editor's inspector, having the cube selected:
Rotating the cube using the attached script
All TypeScript files are packed using, by default, WebPack, including the scripts that are attached to objects. That means we have to watch (or build) the project to see the effect when running the game.
There are 2 ways to watch the project:
- Watch automatically with the Editor
- Watch using a command line that runs a script available in the package.json file or the project.
As a developer, using the command line, simply open a terminal at the root folder of the workspace and type:
npm run watch
This will watch ALL the TypeScript files and repack the dist files.
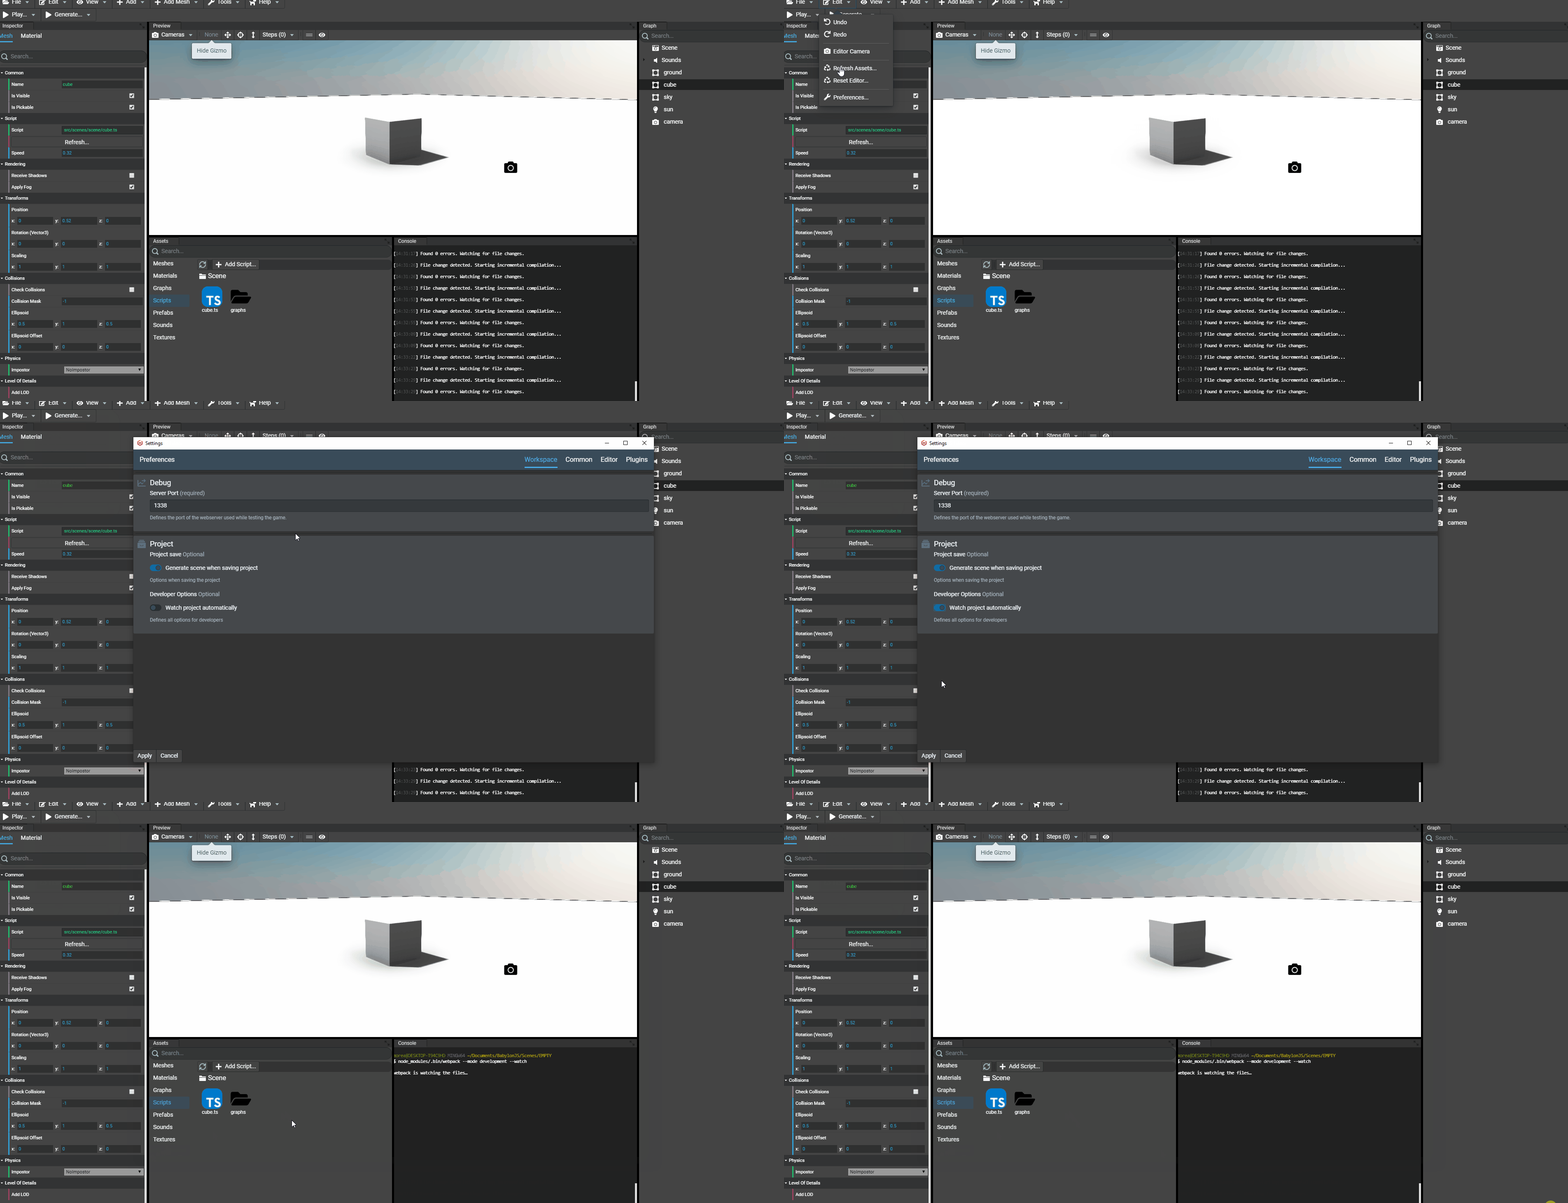
Using the editor, simply open the preferences and enable the automatic watch (if not enabled):
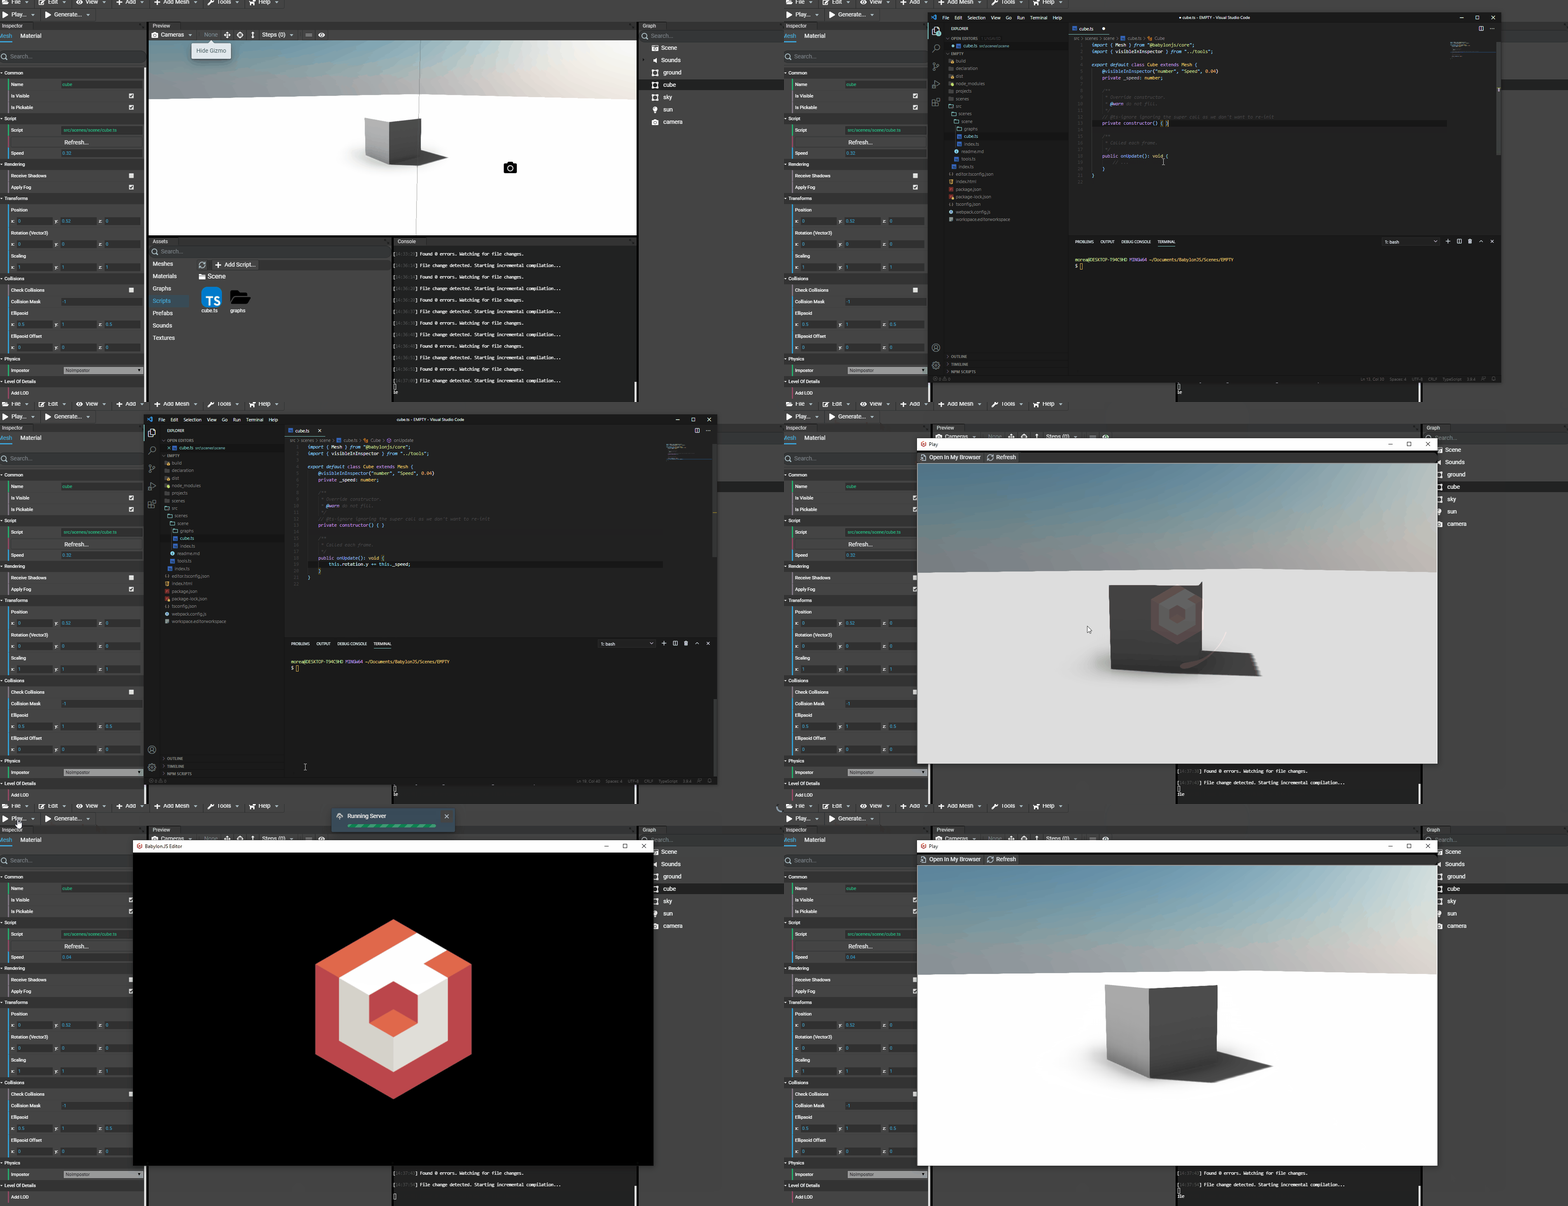
Now, let's rotate the cube using our customized property _speed and run the game. In this tutorial, the onStart function is not used. When one of these functions is not used, it can be removed.
Managing scripts
Scritps can be managed in the editor as the asset's panel for scripts is just a file explorer. That means you can create, remove move scripts and create folders.
IMPORTANT: moving scripts MUST be done in the Editor. For performance reasons, scripts are not watched on the file system by the Editor. Architecture of scripts in the project can be handled directly in the Editor. That means we can create folders and move scripts in the folders.
Doing this in the Editor allows to automatically re-configure objects that have the attached scripts with is moving to change its path.
Note: once a script has been moved, don't forget to update relative imports in the script to suppress compilation errors.
